
After over a year planning the rain garden is in the ground at the Galvez garden! We can’t wait to watch it grow! Check out the process below!

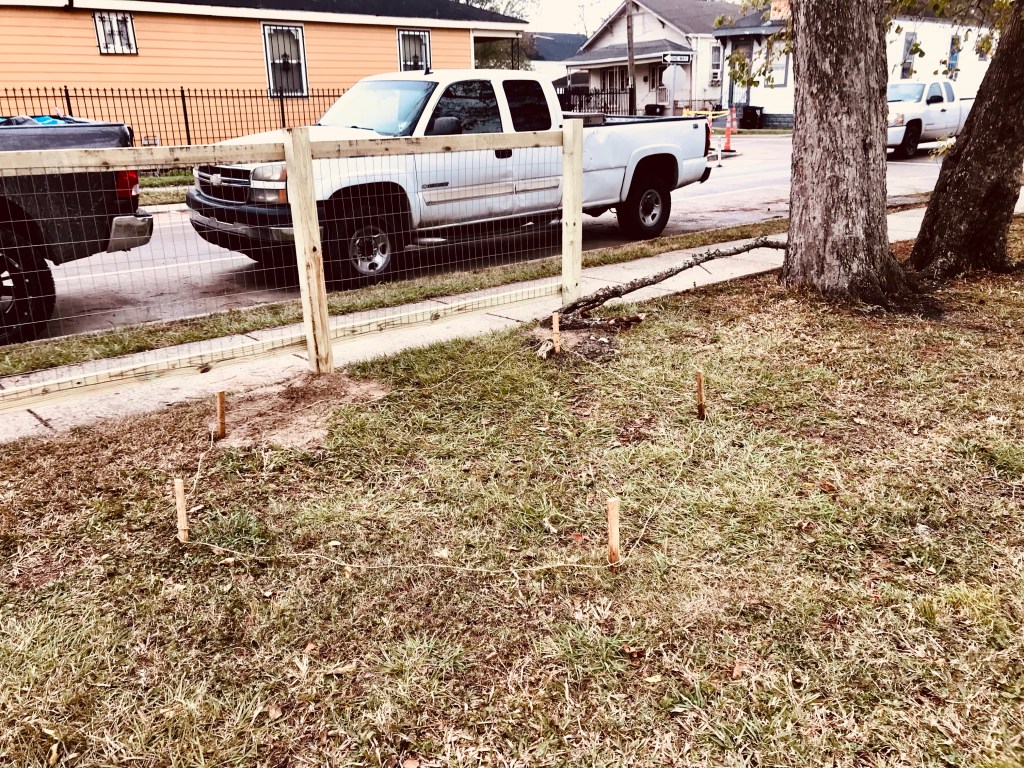
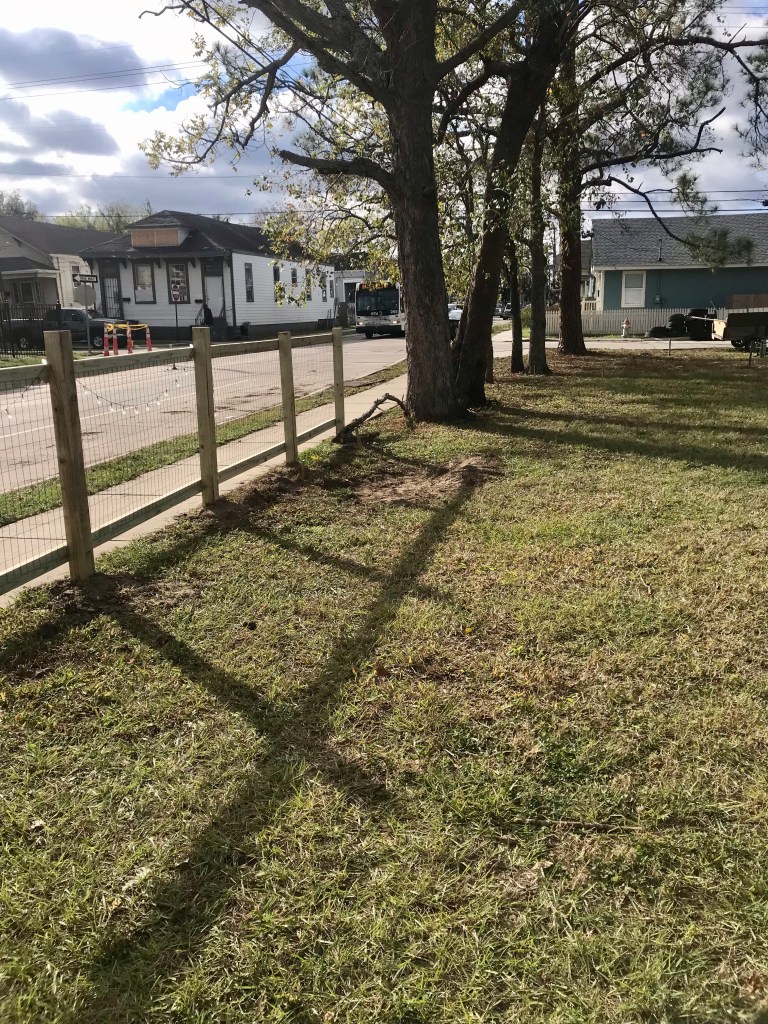
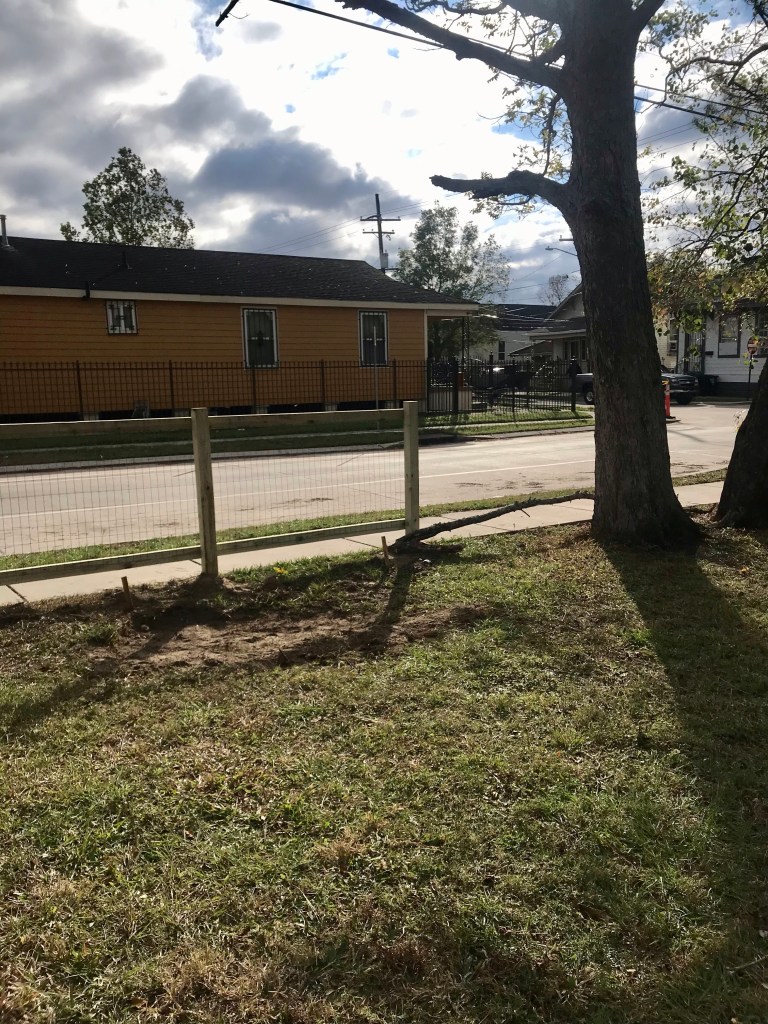
We started by a visit from the Director of Programs at Waterwise Gulf South. After consulting with Jeff, we agreed on the best location for the rain garden. The first step in identifying the perfect spot is to see where water naturally pools and locate any recessed areas on the property. As was identified in our initial plan, the most depressed area on Galvez was near the trees. With that confirmed, the next step in the process is to get some rope and stakes to visualize the space.

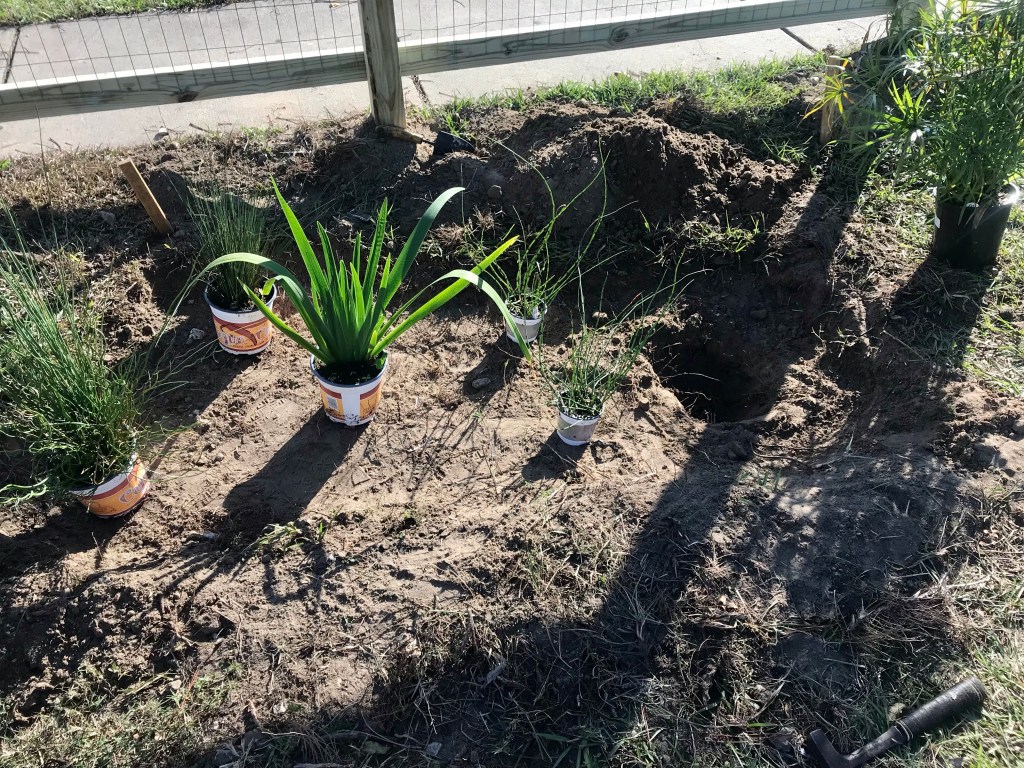
Next step in building a rain garden, get digging! Remove the sod and dig out the space. The trick to this is trying to keep it level while maintaining a natural slope to encourage water to feed the rain garden. It’s also a challenge to avoid patting. down the dirt (or stepping in it), because the soil should be loose for the plants. Keeping buckets on hand is a helpful way to keep the dirt from refilling freshly dug holes, and also good because we’ll use some of that soil to build our berm.
Now comes the fun part, plants! After a very exciting visit to Harold’s Plants guess what comes next? More digging! I dig it…
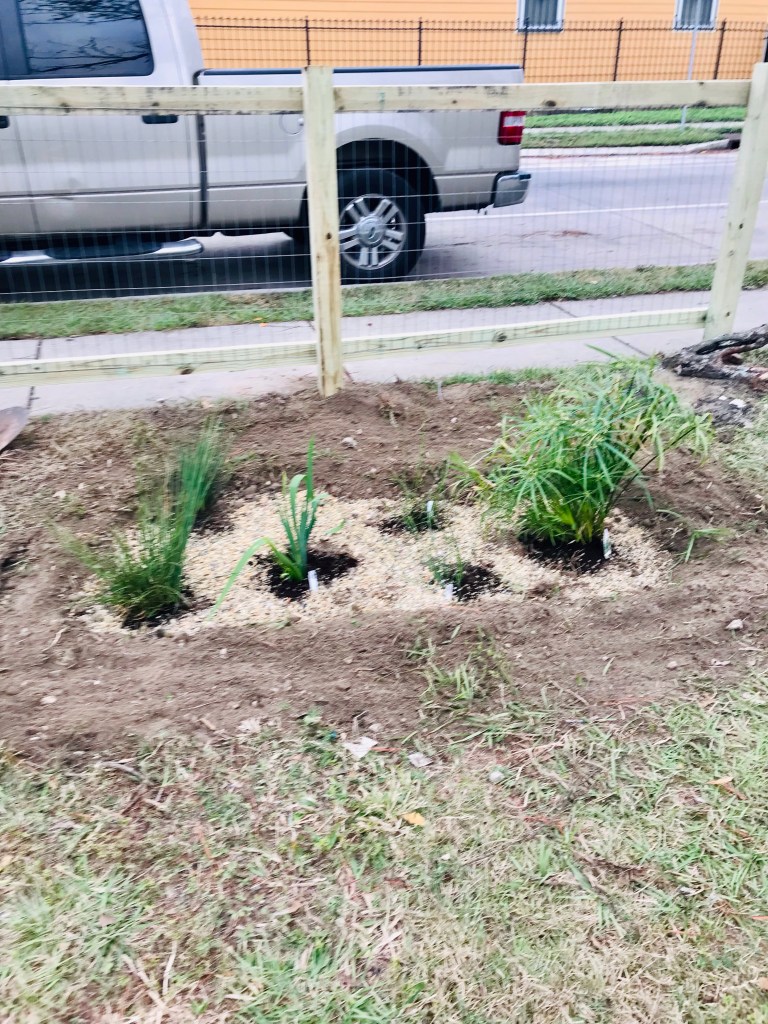
Plants are dug into the newly defined recession just as you would plant them anywhere else. Sometimes this is where it gets tricky, but luckily we had very sand soil.
The whole process takes several hours, but when you finally get to see your plants in the rain garden it is quite rewarding. I used a mixture of compost, top soil, and, a small amount of manure because the soil was already sandy and I planted directly into the land. After that I spread a thin layer of gravel because I know under that sandy soil is clay. This will help with the water absorption in times of heavy rain.

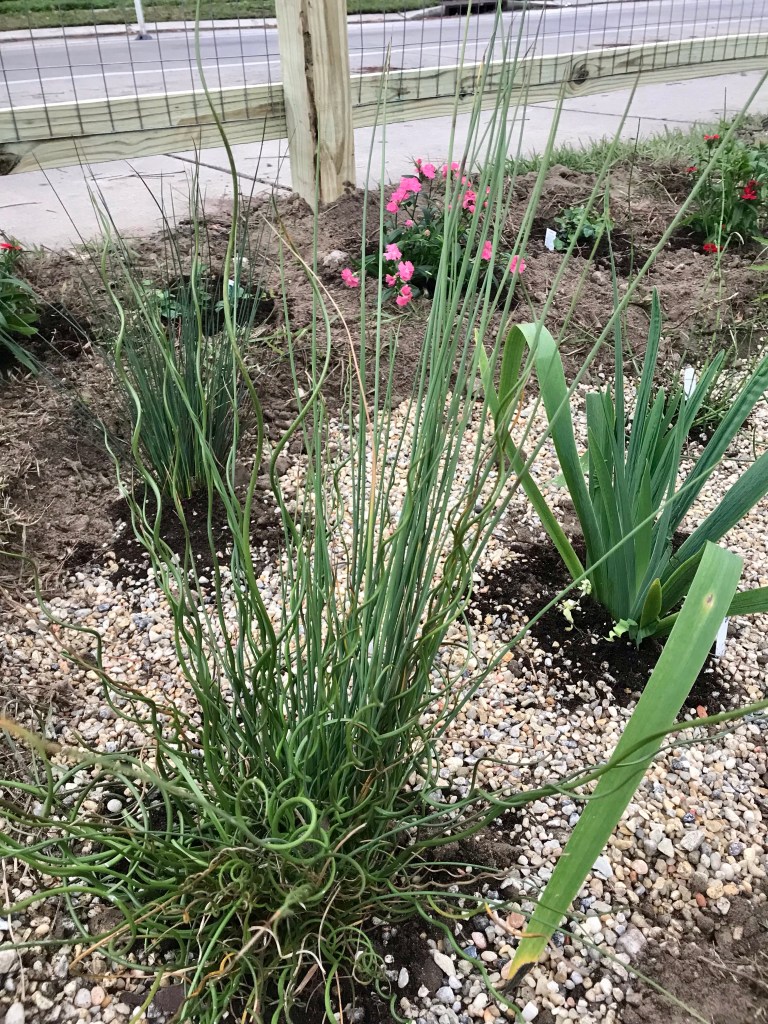
By this point I was pretty tired. I planted some pollinator friendly flowers alongside some creeping green to border the rain garden on the layer level with the rest of the property. This additional layer of plants will also help with water absorption.

I’ll go back tomorrow to add some mulch and some kind of barrier for aesthetics, but we couldn’t be happier with how it turned out! Stay tuned for more updates!

You must be logged in to post a comment.